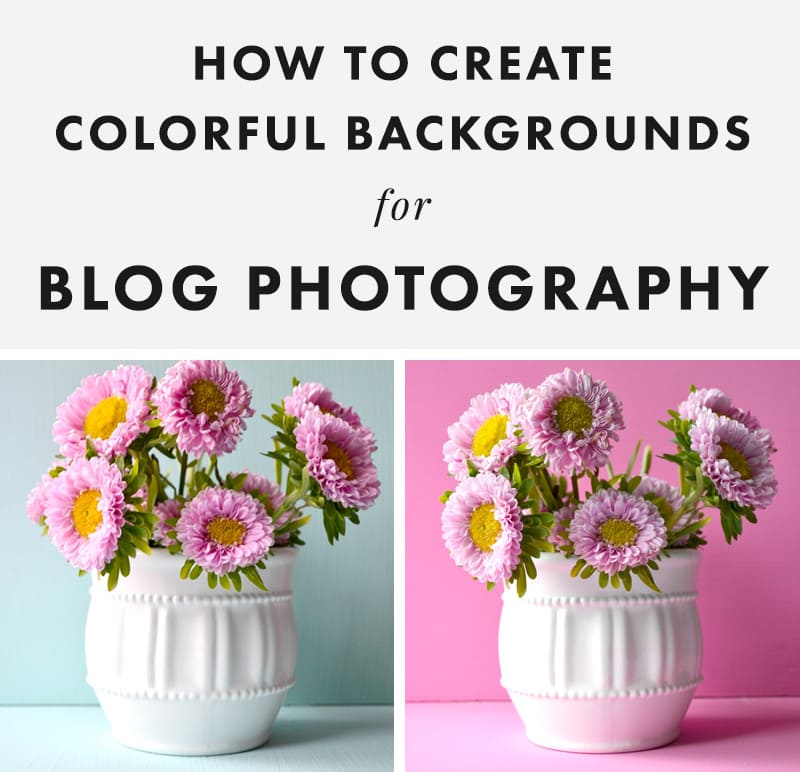
If you read my post about 6 Ways To Save Money As A DIY Blogger, you probably know that I am all about saving cash monies when it comes to blogging. As much as I enjoy saving money, I also enjoy making my content and all my photos look beautiful (who doesn’t!?). It’s fun to make things look pretty, and it’s also great for branding yourself and your blog.
When I first started blogging, I snapped all of my blog photos on my parents’ very dark and very old kitchen table. I quickly learned that that wasn’t working for me, and I spent a few months playing around with different surfaces to photograph things on. I tried using wrapping paper as a backdrop for photos for quite some time. You know that episode in Friends where they share that Monica irons her wrapping paper so she can save it for later? Yeah. That was me. I also went through a very large pile of scrapbook paper. That was a really fun adventure. I’d constantly lose my colorful pages and/or forget about them and find them torn or in the most random places. Needless to say, my paper backdrops were just not working for me.
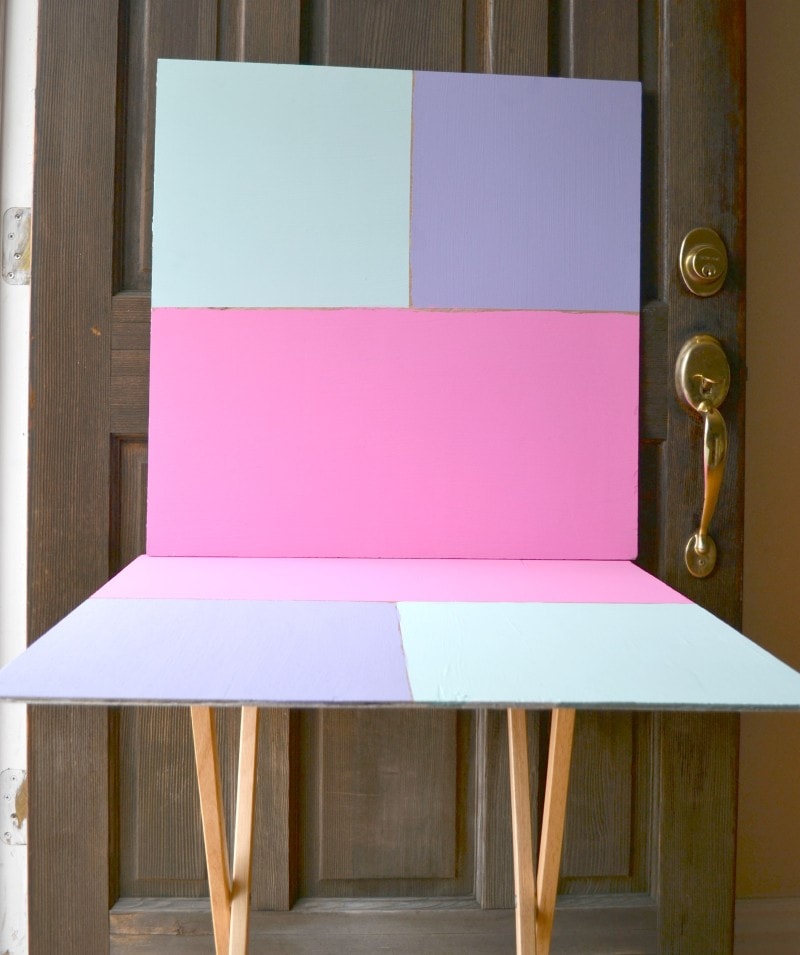
Finally, I decided I needed something a lot more durable and stable. I decided to make a colorful photo backdrop out of some pieces of wood. I can say without a doubt that taking my blog and Instagram photos is now 1000000 times easier! My photos are much sleeker, more uniformed, and it’s really eliminated the grunt work of figuring out how to make my posts look more presentable. Click through to learn how I do it!
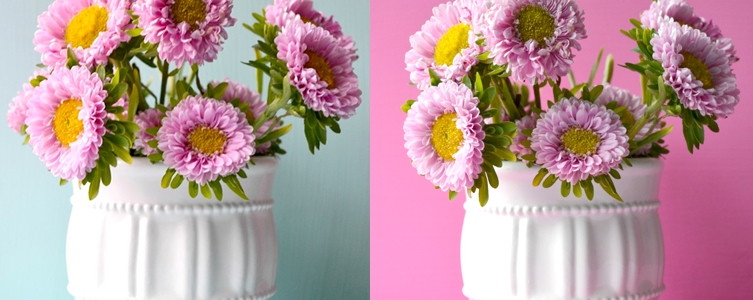
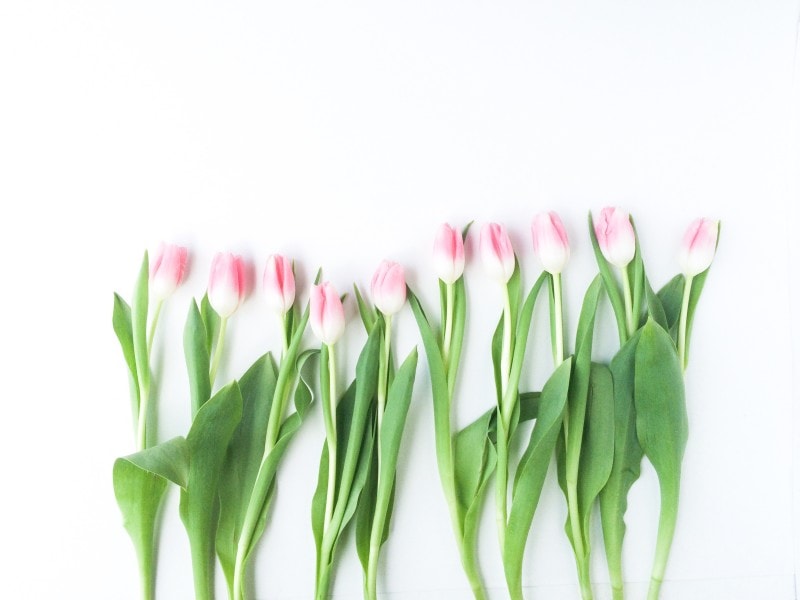
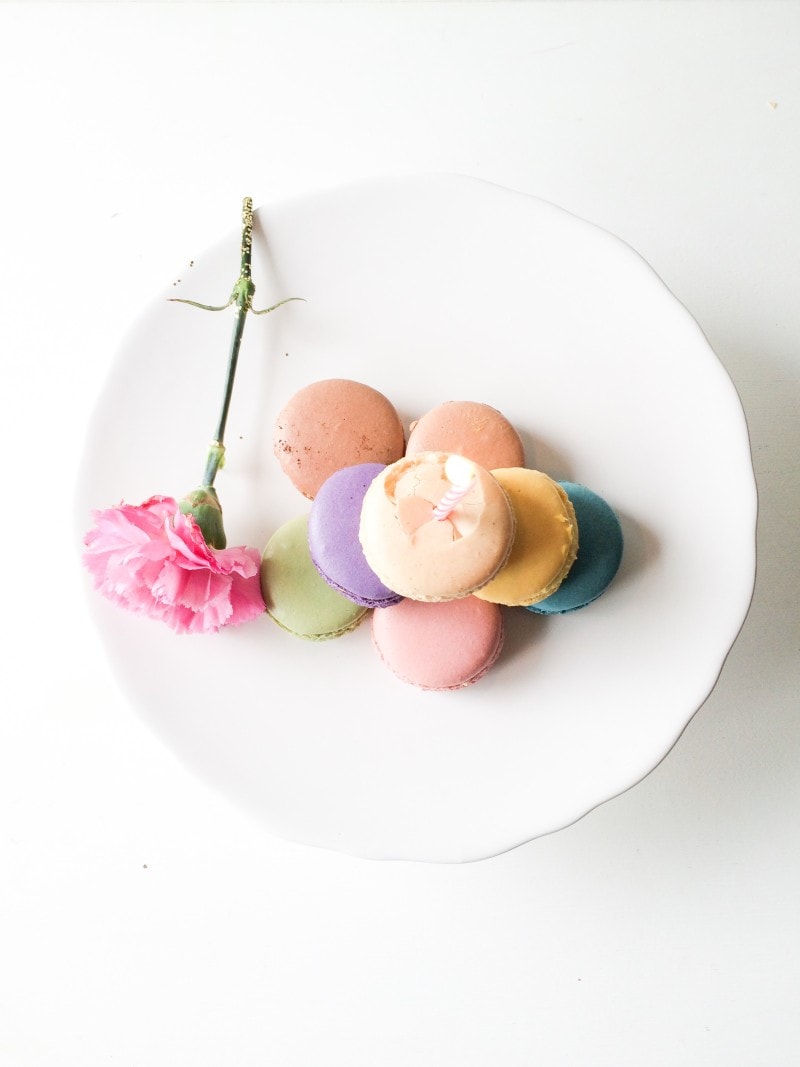
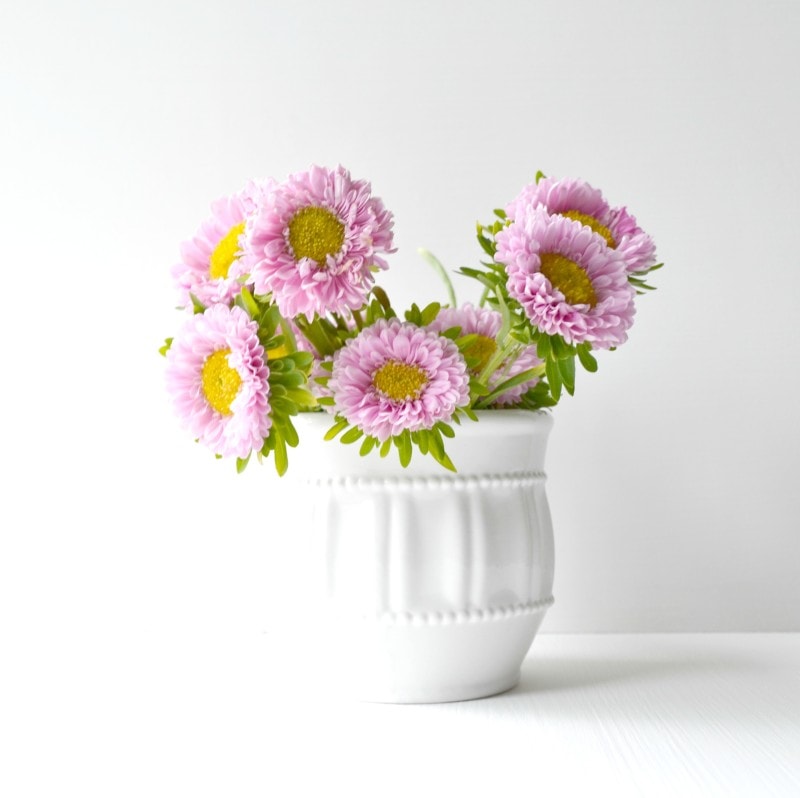
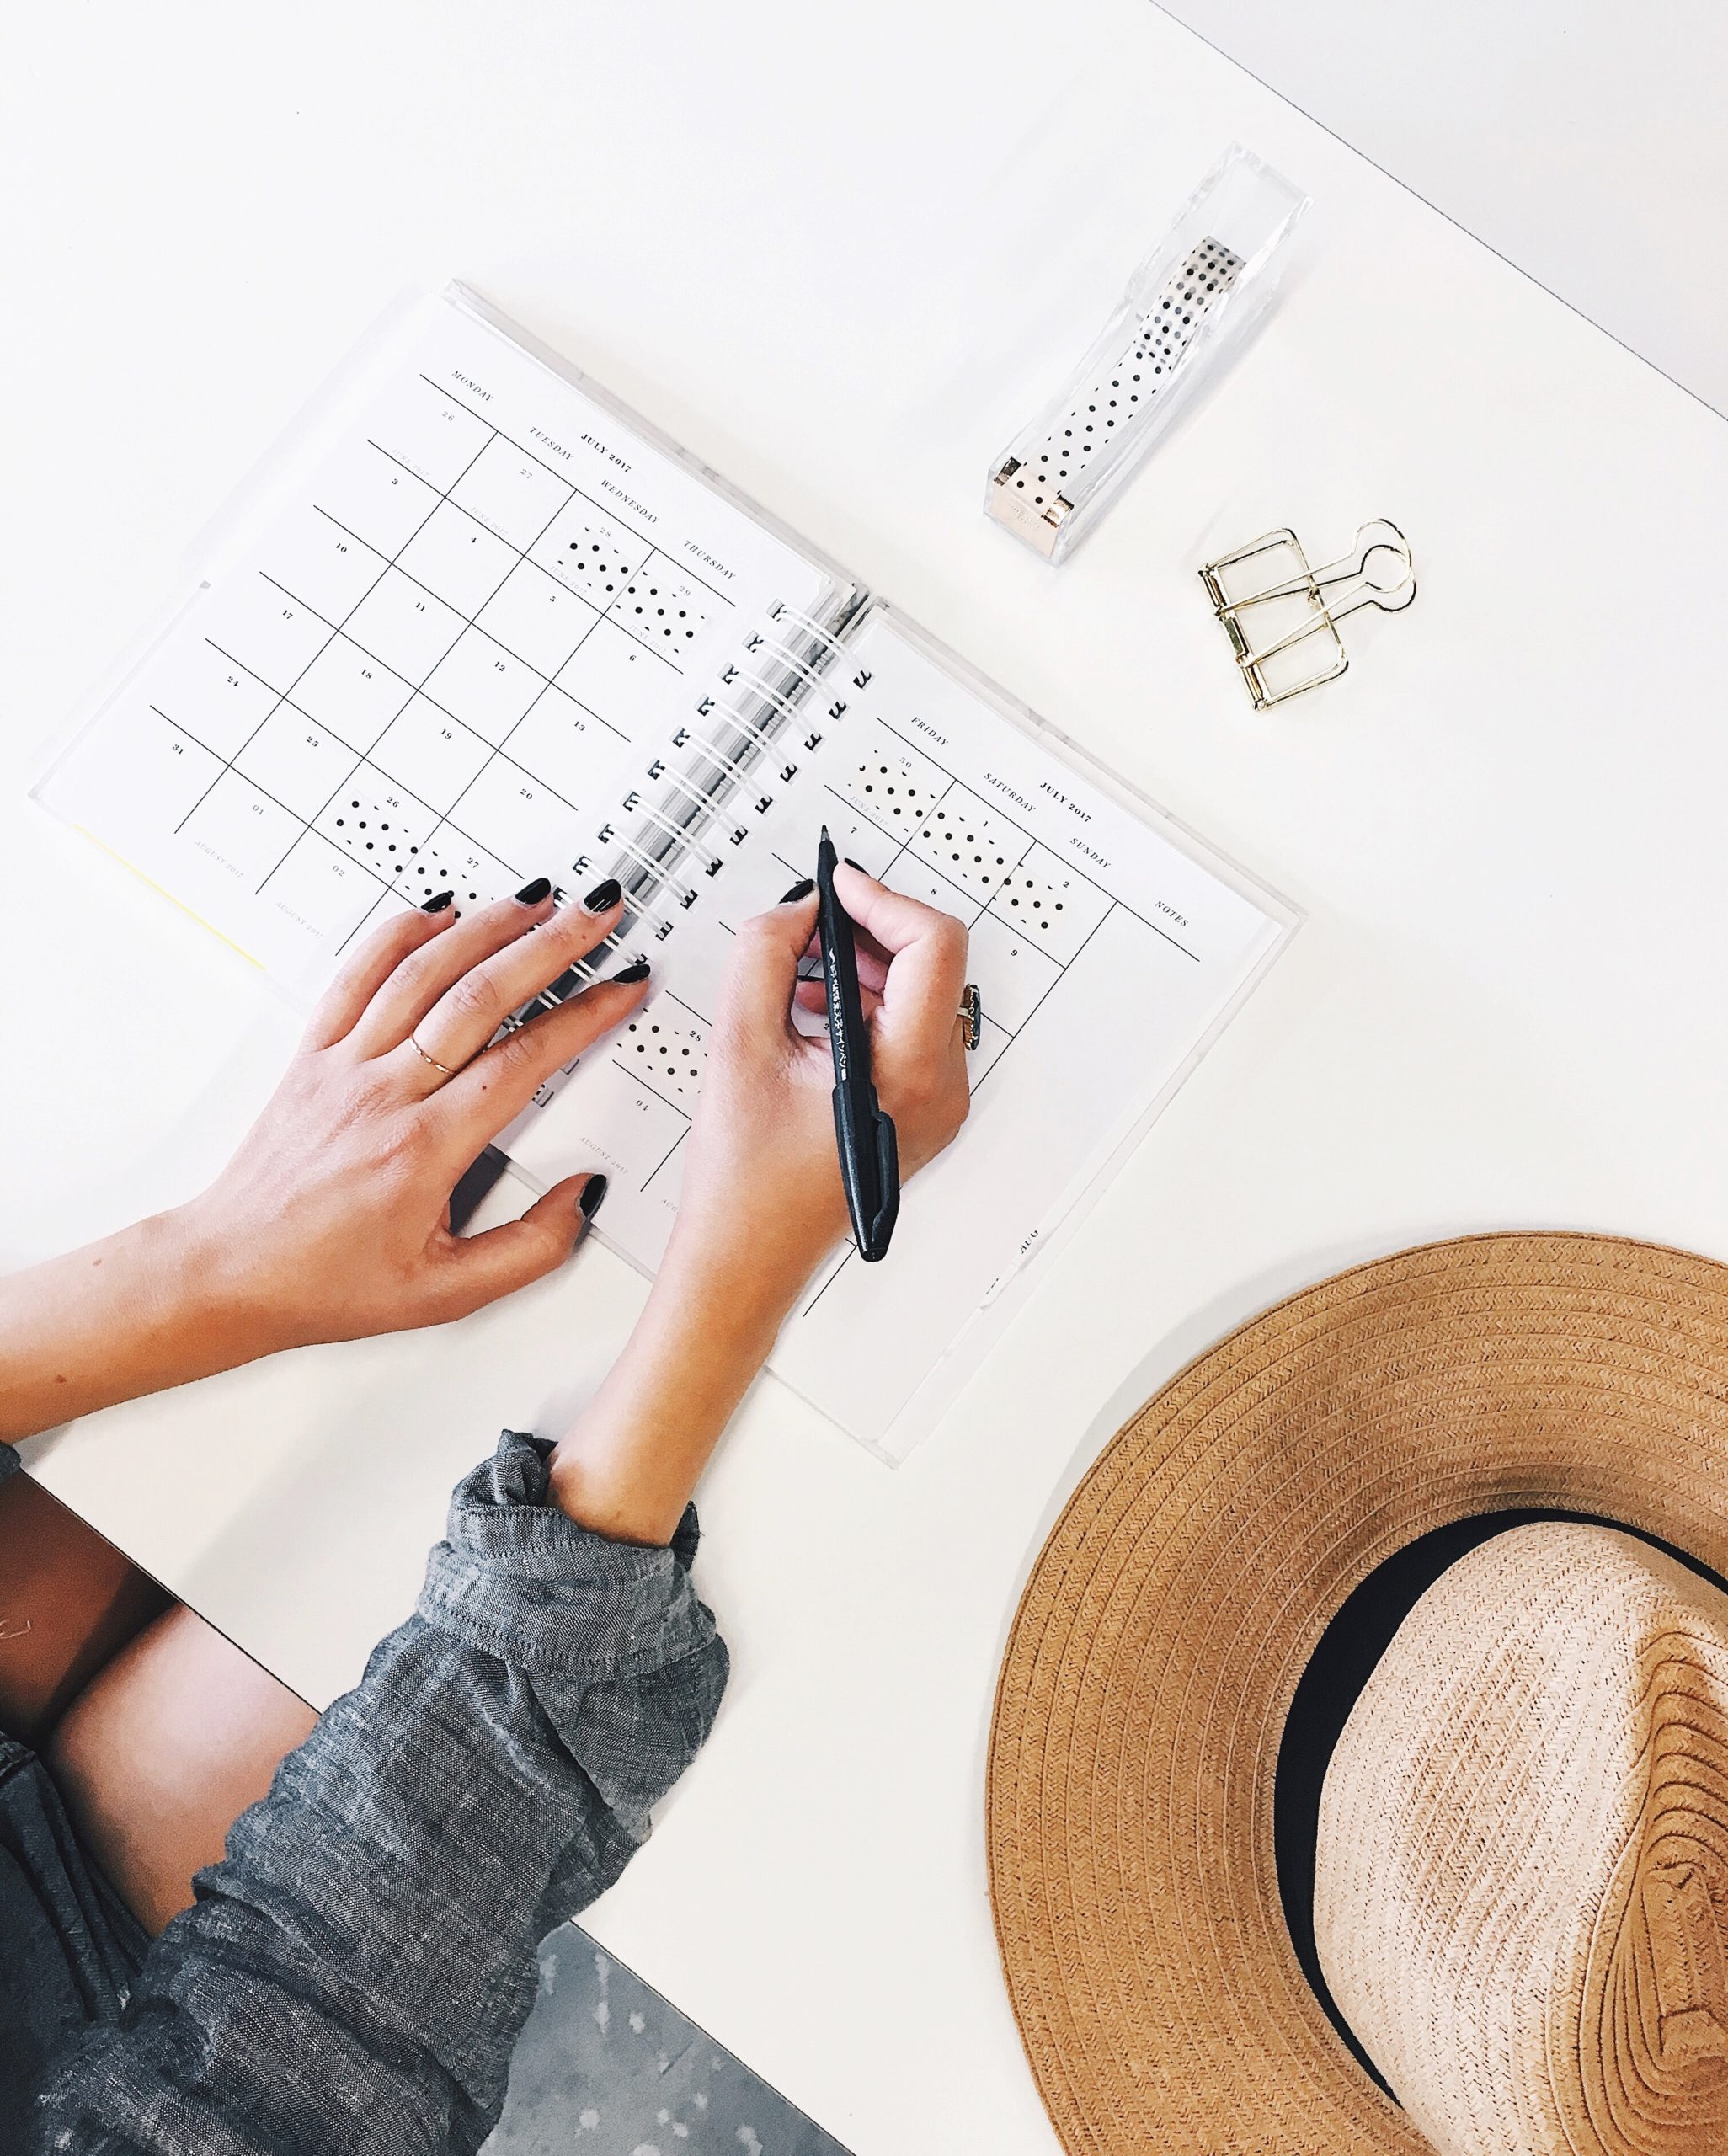
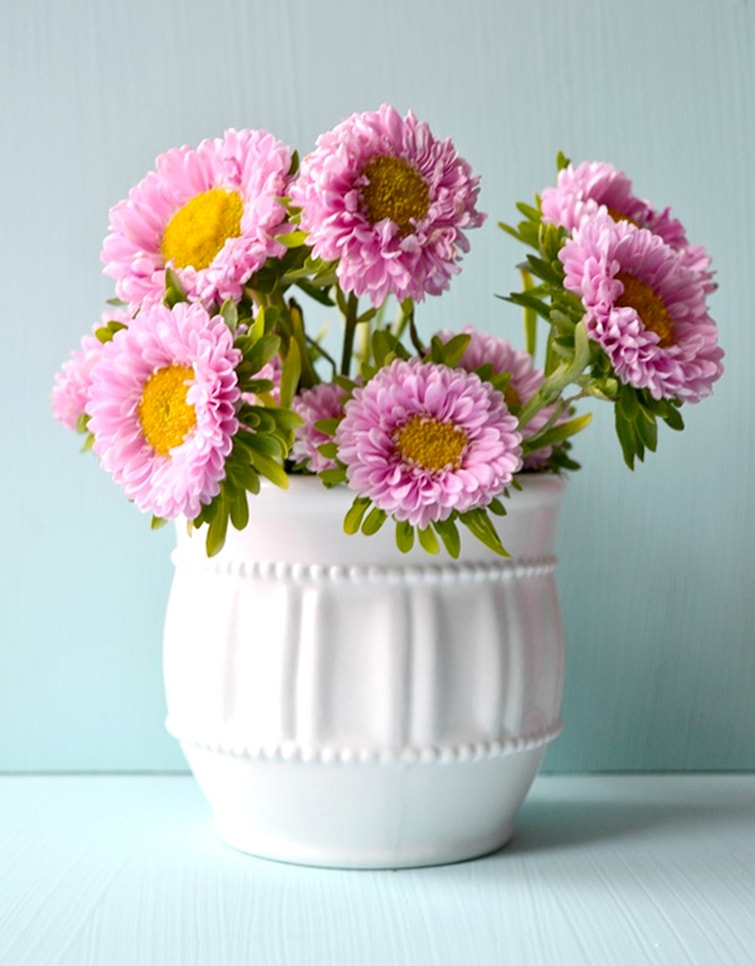
These photos you just saw? You might think I have a nice white table at home. Plot twist: we don’t even own a kitchen or coffee table yet! #secrets
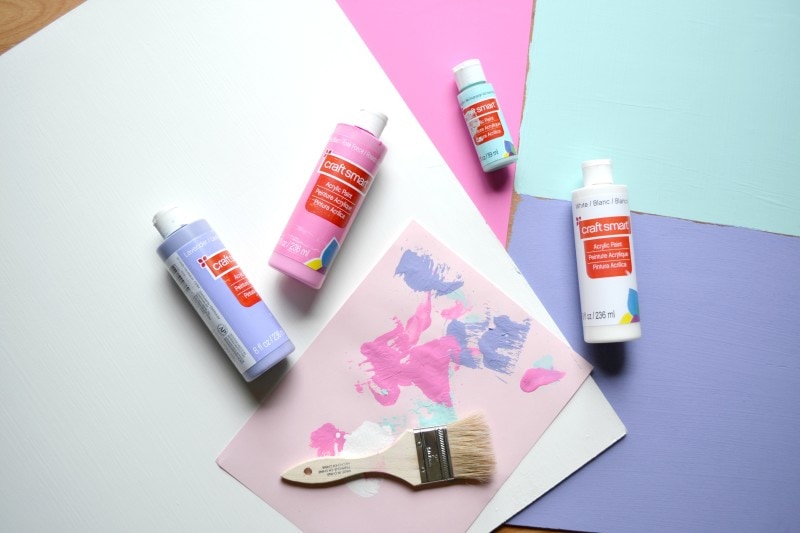
All you need to make your own blog photo backdrops are two pieces of wood and some paint. I bought my wood at Home Depot. Their customer service is seriously fantastic. I can’t say I fit in all that well at Home Depot, but the guy that helped me was super helpful, and he didn’t even laugh at me when I was flailing my arms in the air trying to explain to him exactly what I wanted. Anyway, get yourself to Home Depot and have them cut you some wood (their cutting service is free!), then decide what colors you want to use as a backdrop for your photos.
(Related: 11 Surefire Ways to Grow Your Instagram Following)
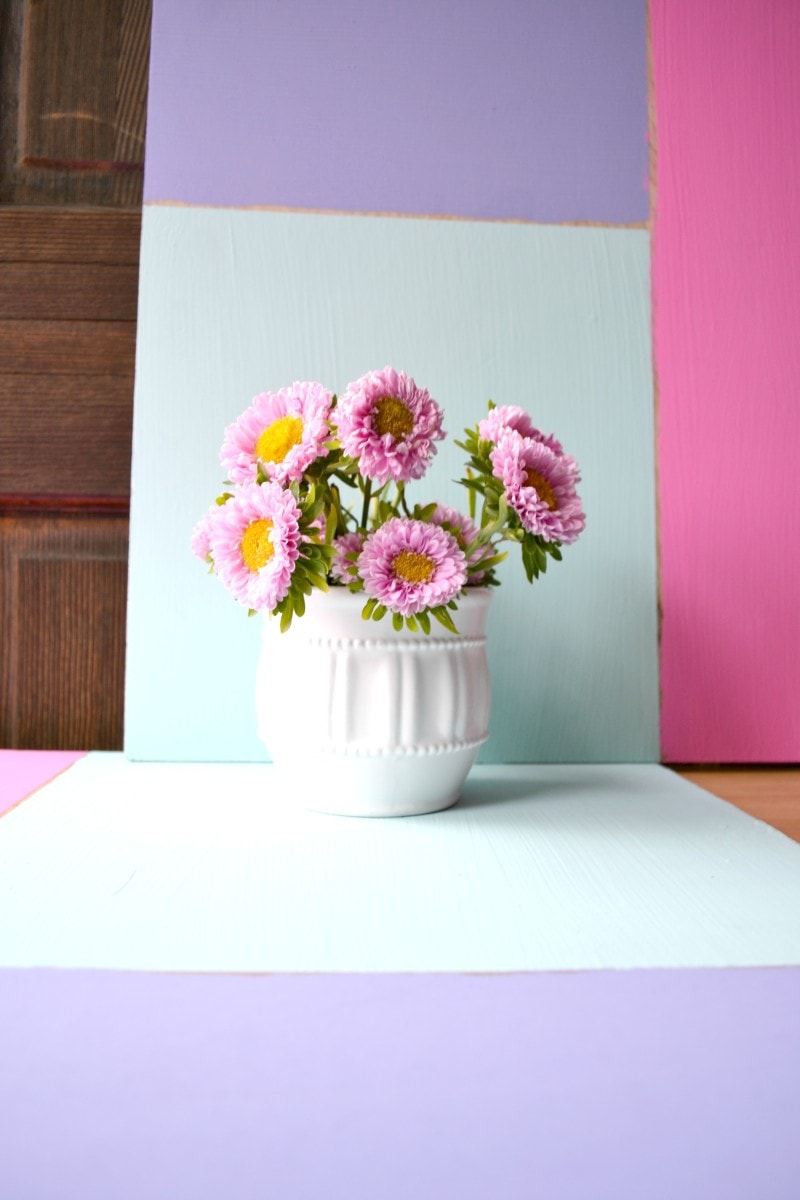
One side of mine is completely white because that’s what I use for most of my photos, and the backside is split into three different colors to give myself some options. My favorite part about this is that I can easily get more wood as the seasons change and use different colors later on. I spent about $25 in total on this project, which to me is totally worth it! The wood pieces are also really easy to tuck under my bed or behind my desk so they’re never in the way.
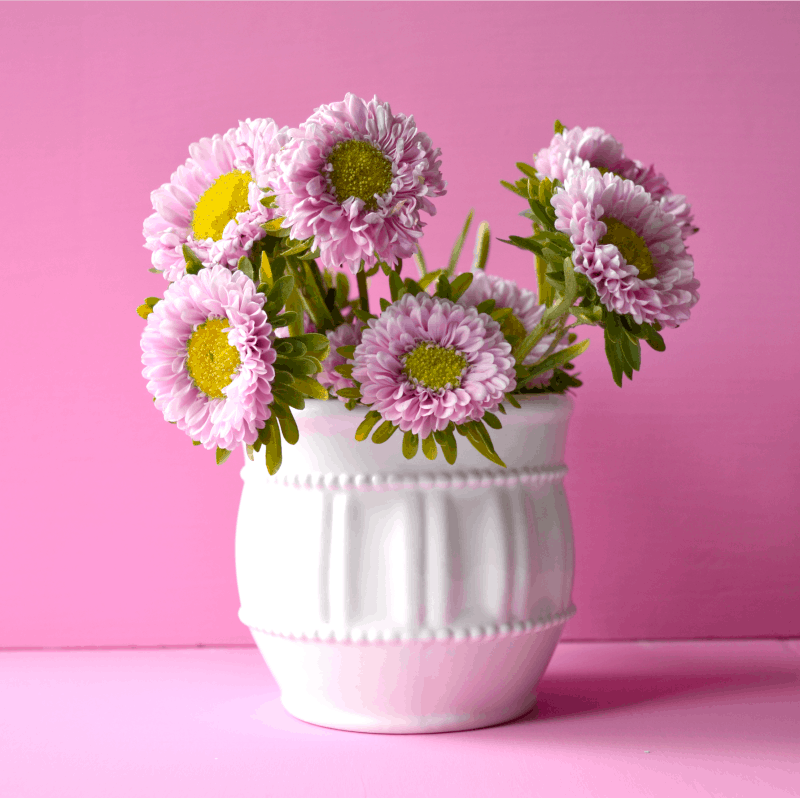
Easy, right? Really, the color combinations are endless, and you can customize this with colors you already use in your blog’s branding. I love being able to change things up when I need a burst of color and these wood panels are perfect for my blog photography.
What do you usually use as a backdrop for photos? Do you have any other time or money cutting tricks up your sleeve? I’d love to hear them!
p.s. Want more blogging advice? Read this.
