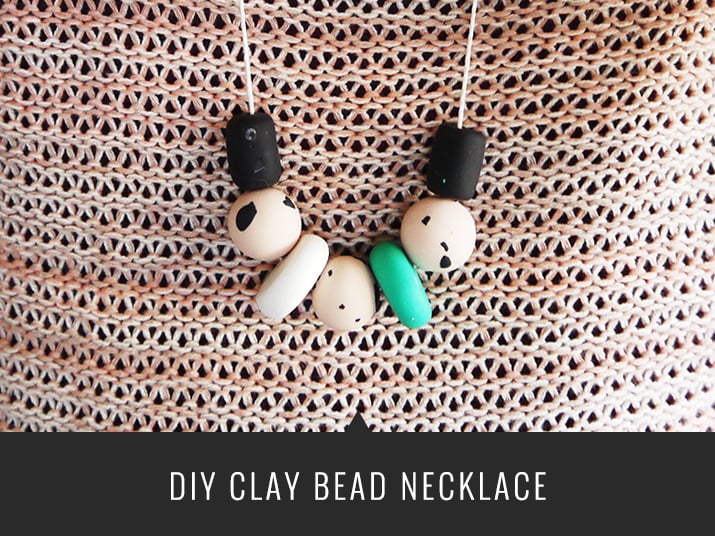
Lately, I’ve been seeing more and more shops pop up that offer clay bead necklaces, often with colorful and eclectic beads. To me, they seem like the indie woman’s version of a “statement necklace” and I couldn’t wait to try my hand at making some myself. Today, I’ve got a super simple (and fun!) tutorial on how to make your own clay bead necklaces, with some tips I learned along the way. Creating these necklaces only takes a few minutes (minus baking time) and costs less than $10!
Supplies
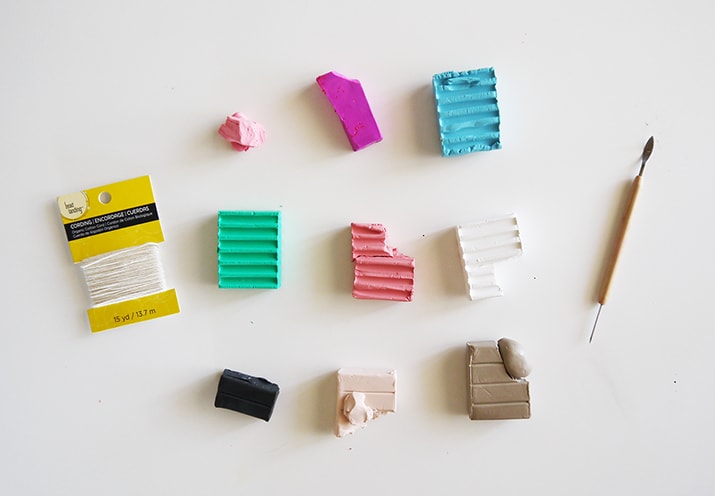
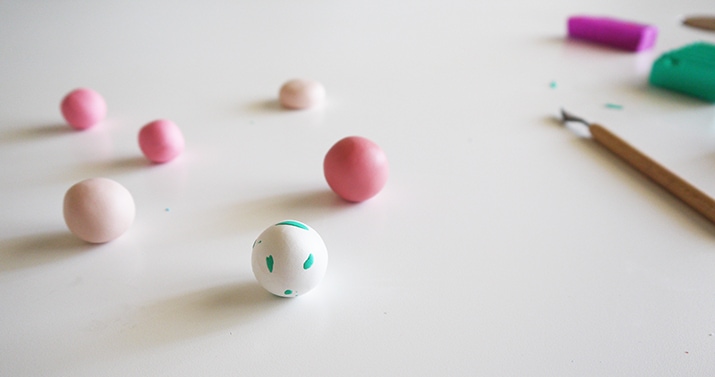
I used Sculpey clay, a sharp pointy thing (you can see a picture of it above if my description fails ;)), and cotton cord, though you can also use leather or waxed cord. Also, if you have a drill, you can use that instead of the sharp pointy thing, but either will work.
Step One: Knead your clay into balls or preferred shapes
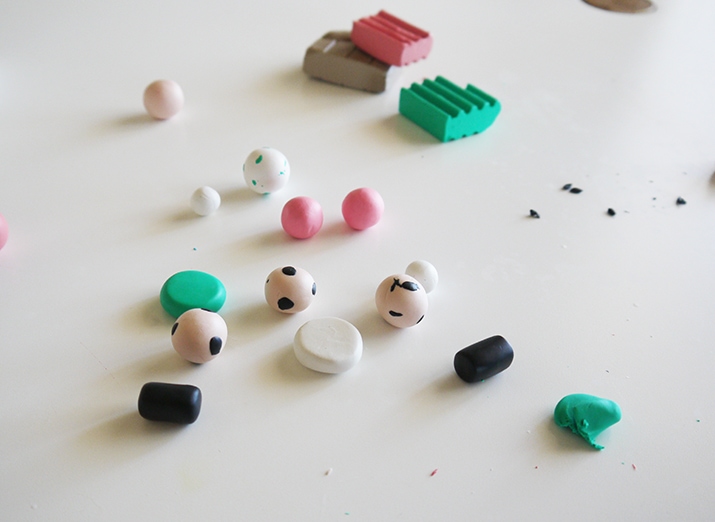
This is probably a skill you learned when you were in preschool. Super easy! You can also make other shapes, like flat, coin-shaped beads, long and narrow beads, oval beads, you name it! I added polka dots to some of my beads by making teeny tiny balls out of clay crumbs and then rolling my round bead into the crumbs. Then, I just rolled it in my hands again, to make sure the polka dot crumbs were kneaded well into my bead.
Step Two: Poke a hole in your beads
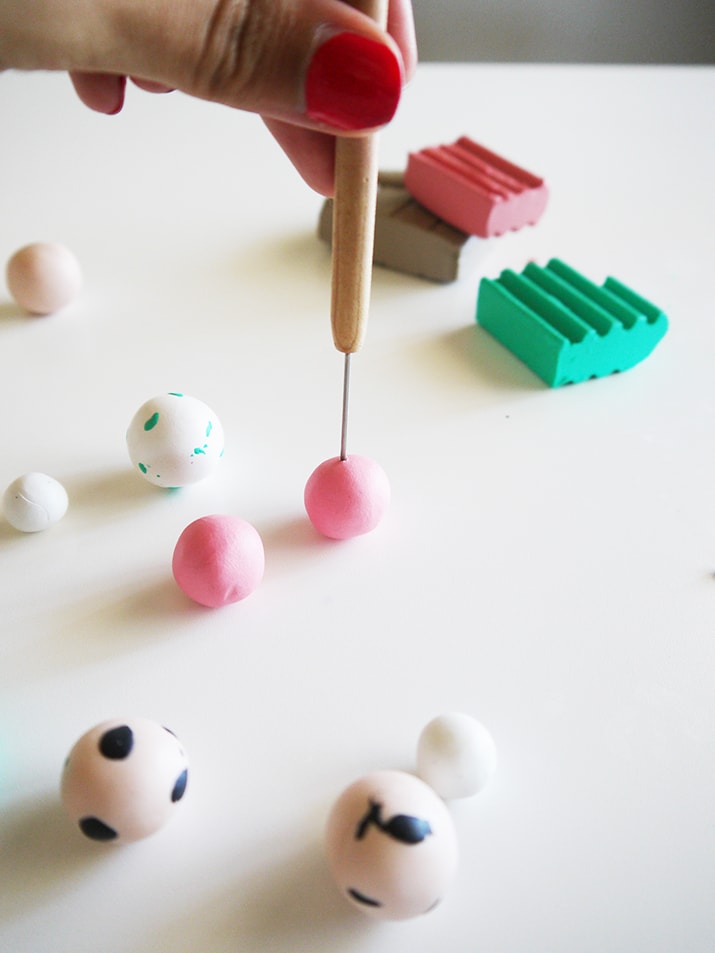
With your sharp pointy thing (my tool was found in the clay section of a crafts store, but you could also use a toothpick), carefully poke a hole into your beads. If your clay is too soft, the bead will squish as you poke the hole, causing the round shape to warp. I recommend waiting a few minutes for the clay to get a bit harder or briefly sticking your clay in the freezer.
Alternatively, if you have a drill, then all you need to do is create a small indentation on your bead where you’d like the hole to be (you can just use the tip of a pencil!). Once the beads are done baking, hold your bead and drill a hole where you created the indentation.
Step Three: Bake your beads

Your clay should have instructions for how long to bake your beads. I baked mine at 275 degrees for 30 minutes.
Step Four: String your beads onto your cord
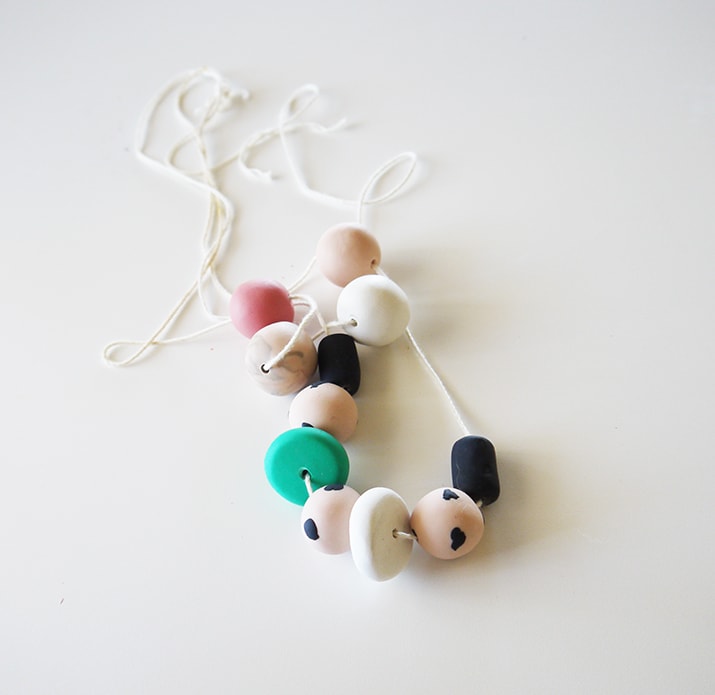
At this point, you can add a clasp or just tie a knot like I did. If you went the drilling-a-hole route, then now would be the time to drill your holes. All done! You’re a jewelry-making extraordinaire.
What do you think? Would you make a clay bead necklace?
p.s. DIY quartz necklace + An outfit that would look cute with a clay bead necklace!